
Checking an Earbud That Will Not Charge
Published on September 14, 2026
- Checking a Single Earbud's Charging Path
- Seven Possible Causes
- A Step-by-Step Check
- Cleaning According to the Device Instructions
- How Case Contacts Supply Power
- Charging That Starts Only with Pressure
- Corrosion and Charging Failure
- When to Seek Service
- OEM Contact-System Design
Possible causes of one earbud failing to charge include deposits, poor seating, a stuck contact, moisture, insufficient case power or an internal battery fault. Check the case and mating contacts before deciding replacement is needed.
Checking a Single Earbud's Charging Path
If both sides fail, begin by checking the case, USB cable, adapter and case battery.
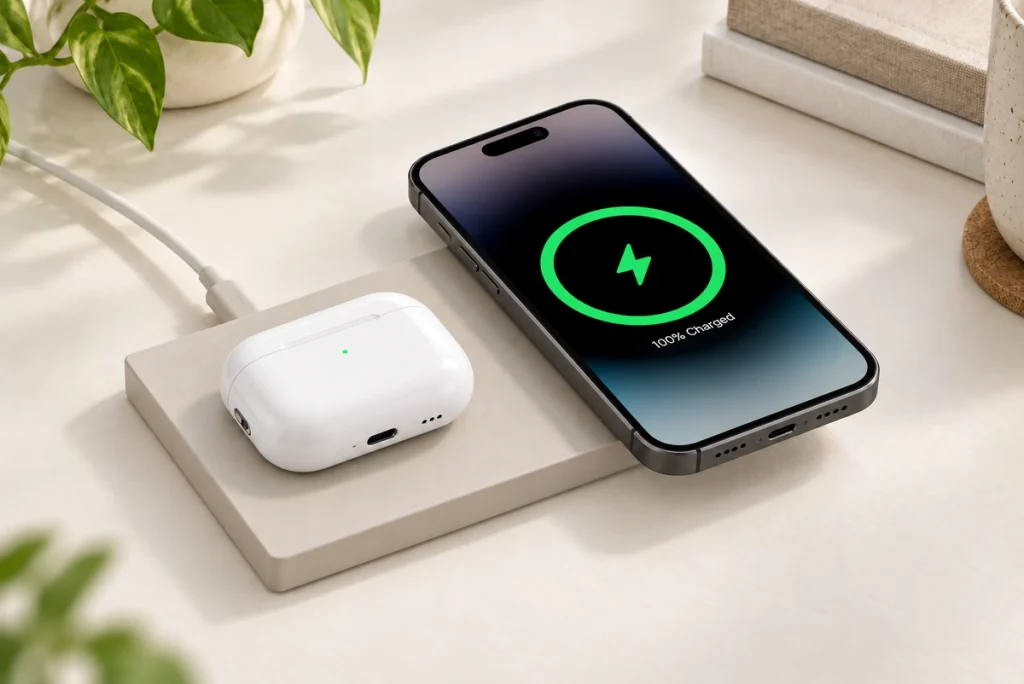
If only the left or right side fails, inspect that earbud's individual conductive path as well.
Each earbud usually has separate mating contacts in the case. Dirt, positioning, moisture or a mechanical issue on one side can leave its displayed charge at 0% while the other charges normally.
Inspect the physical connection before concluding that the battery has failed.
Seven Possible Causes
1. Deposits on the Contacts
Dust, skin oils, earwax or other residue can disrupt the connection even in a thin layer on these small contacts.
Check both members of the pair: the earbud pads and the contacts in its case cavity.
Correct-looking placement can still leave an unstable electrical connection.
Charging that restarts after reseating can point to inconsistent contact. Inspect for deposits, but do not assume contamination is the only cause.
The device manufacturer’s reference wireless earbuds care guidance recommends cleaning charging contacts because contamination can interfere with charging. Use the official care instructions for your exact device.
Official charging-contact cleaning guidance2. Incomplete Seating
The correct depth and angle bring the earbud pads against the case contacts.
An incorrectly fitted tip, debris in the cavity or the wrong position can leave a gap at the contact pair.
Being visibly inside the case does not necessarily mean the earbud is fully seated.
Remove it and place it gently in its correct cavity. Watch for a change in the case light, charging icon or battery status.
The device manufacturer’s model-specific charging guidance describes incomplete seating or a floating position as a possible cause, including issues with unsuitable ear tips. Follow the instructions for the supported model.
Official earbud charging-position guidance3. A Stuck or Recessed Spring Contact
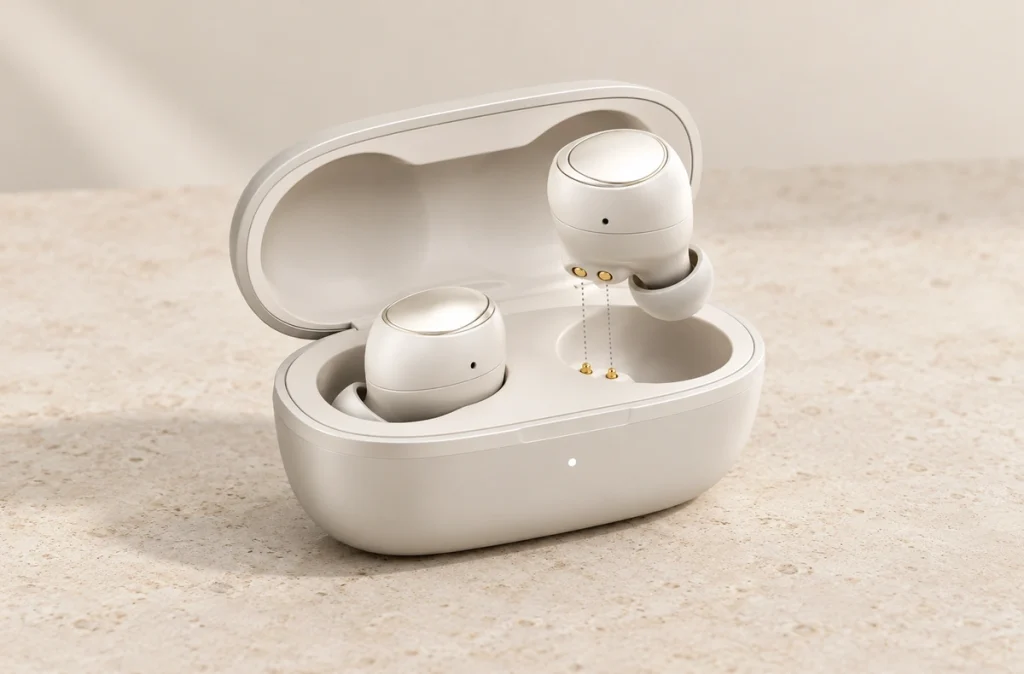
Many cases use pogo pins, or spring-loaded contacts, to mate with the earbud.
A pin's movable plunger compresses when the earbud seats, and the internal spring maintains pressure against its pad within the working range.
A recessed, dirty, damaged or non-returning pin may fail to reach the pad.
One possible result is:
One earbud charges while the other does not.
Compare visible contact heights with the working side and consult the model's troubleshooting instructions if a contact appears recessed.
Avoid prying or forcing a stuck contact. Use only procedures expressly provided for the model, because the case's small parts are easily damaged.
The Magtor magnetic charging connector working guide explains spring contacts and magnetic positioning further.
How Do Magnetic Charging Connectors Work?4. Moisture or Corroded Surfaces
Exercise and daily use can expose earbuds to sweat, humidity, skin oils and condensation.
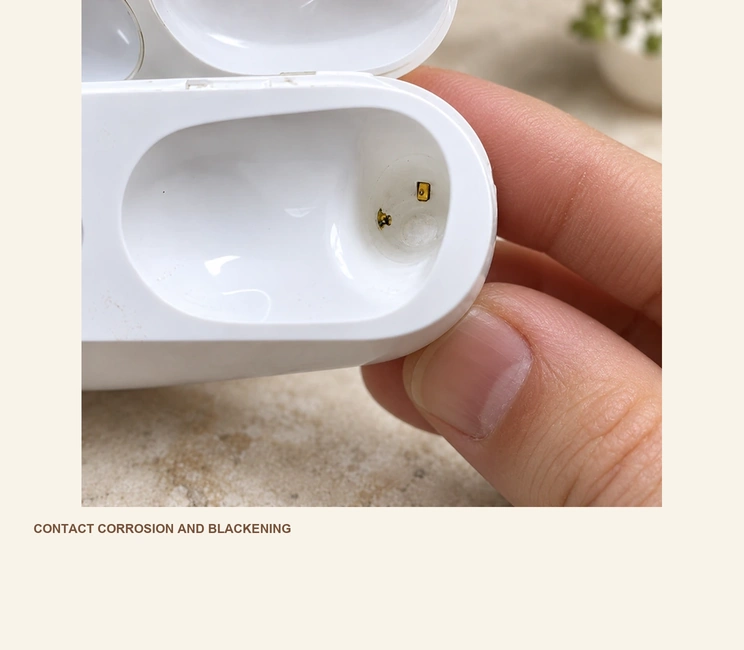
Retained moisture may interfere with charging. Repeated exposure can also contribute to oxidation or corrosion where the contact materials are susceptible.
Charging requires a low-resistance path across the small mating surfaces.
The device manufacturer’s care guidance calls for drying sweat or moisture from charging contacts to reduce corrosion risk.
Official guidance on moisture and charging-contact corrosionDiscolored, rough or visibly damaged surfaces may not regain reliable contact from cleaning alone.
5. Insufficient Case Power
The case battery may be too depleted to recharge the earbuds properly.
Check this shared supply even if only one side appears affected, before proceeding to internal hardware diagnosis.
Charge the case with the recommended cable and source, then reseat both earbuds and check their indicators.
Model-specific troubleshooting, including the device manufacturer’s guidance, also checks case charge before proceeding with earbud diagnosis.
6. Battery Reporting or Firmware Problems
Charging detection can also be affected by software.
An earbud may show an incorrect battery level, remain connected after seating, or fail to recognize charging.
A model-approved restart, reset or update may resolve a temporary detection problem.
Follow the manufacturer's exact procedure. Restarting and initializing are different operations, and an initialization may clear pairing information; avoid a generic sequence intended for another model.
After confirming clean contacts and correct seating, review the official software troubleshooting steps.
7. An Internal Battery or Circuit Fault
If reseating, cleaning, charging the case and the approved reset do not help, consider an internal fault.
Rechargeable cells lose capacity with age and cycles. Physical damage, water exposure or component degradation can also affect internal charging electronics.
How the device responds to a permitted change in seating can provide a clue.
If gentle seating pressure allowed by the instructions restores charging, contact may be involved. Do not hold it down or apply force as a charging workaround.
If the conductive connection has been verified but charging remains absent, the battery or circuit needs further assessment.
Professional service or replacement may then be more appropriate than further cleaning.
A Step-by-Step Check
Begin with accessible checks and proceed to service if they do not resolve the issue:
Check case charge. Recharge it using the approved source before diagnosing the individual earbud.
Remove and gently reseat the affected side. Compare its seating depth with the working side.
Inspect the earbud pads and case contacts for dirt, residue or discoloration.
Compare visible spring contacts on both sides for a recessed or stuck member; do not pry them.
Clean and dry using the care method approved for the specific device.
Check for moisture or corrosion. Dry wet contacts completely before charging.
Follow model-specific restart, reset or firmware instructions, noting any pairing data that may be cleared.
Seek hardware assessment if the physical connection is verified but there is still no response; battery or circuit service may be needed.
The checks can help avoid replacing an earbud for an otherwise correctable contact problem.
Cleaning According to the Device Instructions
Where the model permits, switch off or disconnect the equipment and take the earbuds out of the case before cleaning.
A clean, soft dry cloth or swab is suitable for loose deposits on many models. Avoid metal brushes and forceful scraping, which can damage the contacts or surrounding parts.
Cleaning-agent permission varies by model. Check the exact instructions before using alcohol or any liquid: the referenced the device manufacturer reference wireless earbuds guidance prohibits alcohol, soapy water and other unsuitable cleaning liquids rather than authorizing a general wet-cleaning method.
Return the earbuds to the case only after the contacts are fully dry.
Liquid trapped at the pair may disrupt charging and contribute to corrosion over time. The cited device-care guidance emphasizes clean, dry charging terminals.
How Case Contacts Supply Power
A typical system includes the case battery, charging-control electronics, contacts in each cavity, earbud pads and the earbuds' batteries.
Seating brings the conductive members into physical contact, forming the power path from case to earbud.
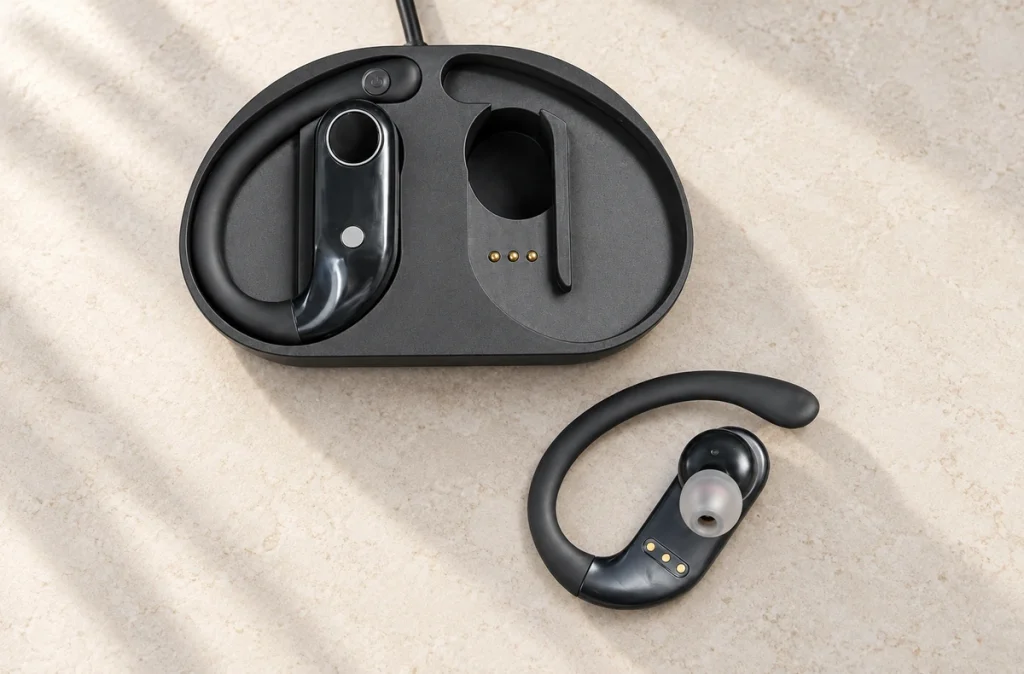
Spring-loaded contacts can provide this connection in compact electronics.
Their movement supplies pressure across small differences in housing, assembly or seating, within the specified working stroke and alignment tolerance.
A typical charging route is:
Case battery → case charging circuit → spring contact → earbud pad → earbud charging circuit → earbud battery.
Small contact areas make both mechanical design and surface materials relevant to reliable charging.
Provide suitable pressure and compression, keep the mating pair clean, and select plating for repeated use in the intended environment.
Dirt, corrosion, seating errors or a stuck pin can therefore make charging intermittent even with a working case.
The magnetic pogo connector introduction discusses spring contacts with magnetic positioning.
What Is a Magnetic Pogo Pin Connector?Charging That Starts Only with Pressure
Treat this behavior as a clue to investigate.
Charging only while the earbud is held in place may indicate insufficient pressure at its normal seating position.
Possible causes are contamination, insufficient depth, a recessed contact, wear or changed mating-surface position.
A permitted gentle change in seating may bring the surfaces closer and temporarily restore conduction.
If the issue returns after cleaning, have the contact system assessed instead of repeatedly forcing the earbud down.
Corrosion and Charging Failure
Corrosion can prevent reliable charging.
The conductive interface needs sufficiently low, stable resistance.
Corrosion, deposits or plating damage can cause intermittent contact or, with more severe damage, prevent reliable conduction.
Sweat and moisture exposure makes this especially relevant to ear-worn and wearable electronics.
Cleaning removes some deposits, but damaged or heavily corroded surfaces may require service or replacement.
When to Seek Service
Continued failure after confirming case power, correct seating, cleaning, drying and the approved reset can indicate a hardware problem.
Corroded surfaces, permanently recessed pins, broken pads, liquid damage or a battery that no longer accepts charge warrant professional assessment.
Do not force a device onto damaged contacts. Excessive pressure can harm the earbud housing, case or PCB.
OEM Contact-System Design
Cleaning or reseating may resolve a consumer's contact issue. For teams developing TWS earbuds, wearables, small cases and related electronics, design the contact system for reliable repeated charging from the outset.
Review stroke, force, resistance, pad dimensions, alignment, plating, corrosion protection, housing tolerances and environmental exposure during development.
Spring travel can absorb small tolerances, while magnetic guidance can help the parts return to a repeatable mating position.
Magtor can assess custom magnetic connectors and cable assemblies for OEM integration, including count, pitch, working height, force, magnetic layout, plating, water protection requirements and cable construction, together with other device-specific inputs.
magnetic connector solutionsmagnetic cable connectorsA two-contact magnetic interface may suit power-and-ground-only products when the electrical and mechanical requirements match. Consider the 2 Pin Magnetic Charging Cable range for that arrangement.
2 Pin Magnetic Charging CableSet the design target for consistent contact through repeated docking and environmental exposure over the required service life, then validate it rather than relying on initial charging alone.